Problem
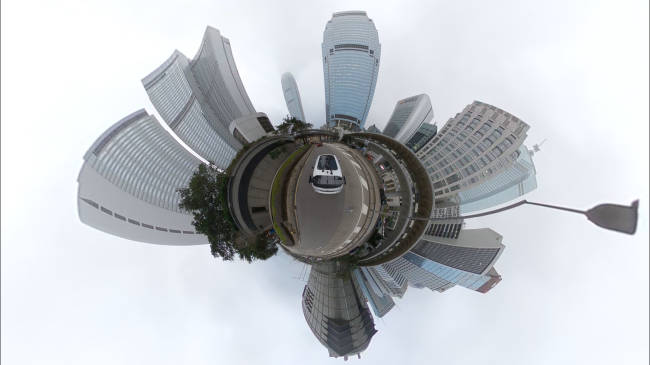
I want to export hi-res frames from a 3D video showing the world as small blob.
TLDR: Create a Keyframe on the main timeline once you have framed your still shot before trying to export.
The desktop GoPro app is really challenging to use. The effort required to upload so many 4GB files to my phone to use the Android App is far too much headache with Google Drive or Android File Transfer. I tried looking for guides, “how to export jpeg image from 360 video in GoPro player” couldn’t find anything. This took some time to figure out…
Export framed JPG images from a 3D video in GoPro Player the easy way on Mac
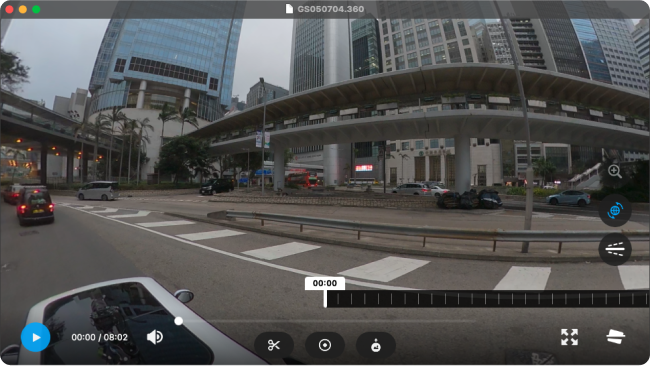
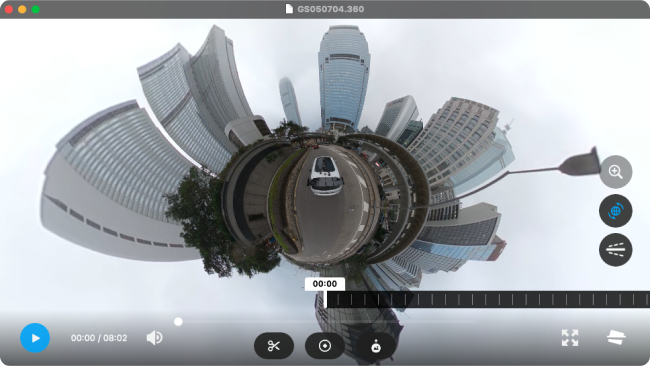
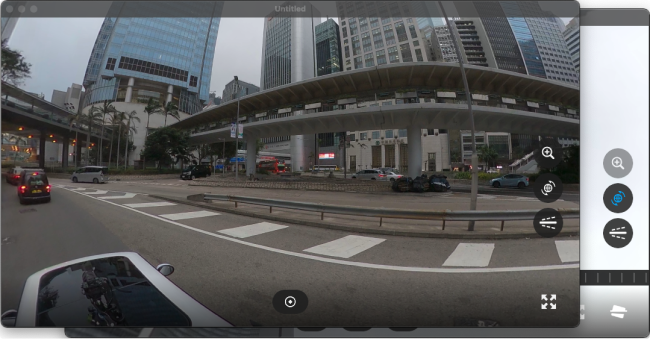
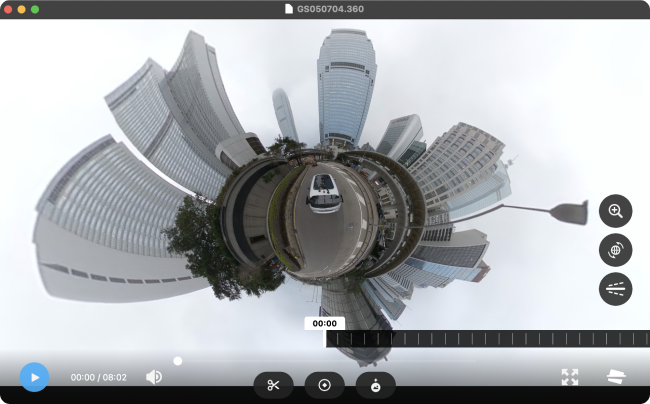
- Open your .360 file with GoPro Player and position the view how you want it

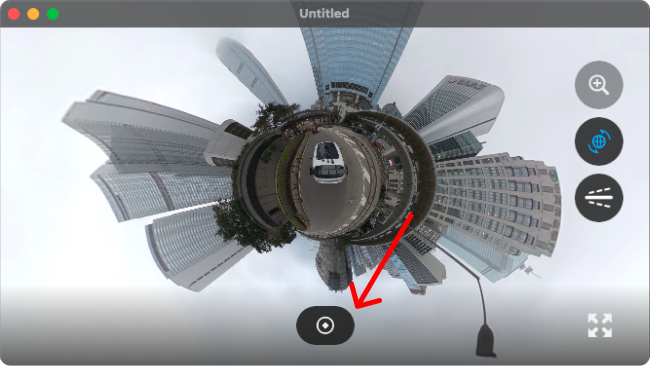
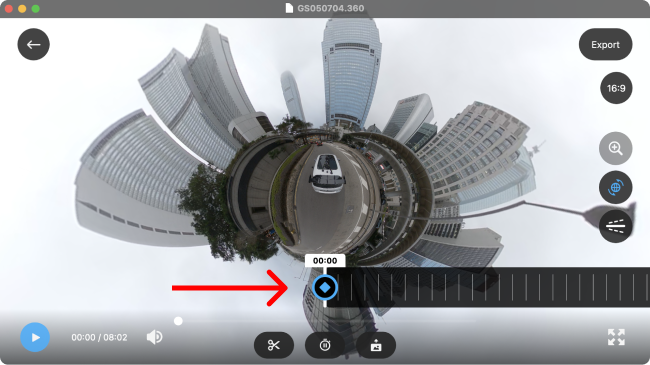
- Create a Keyframe
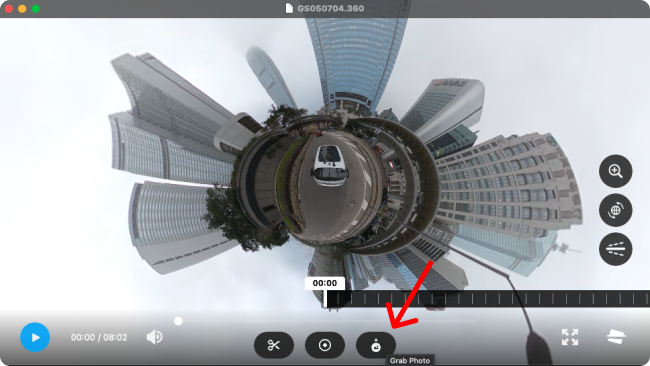
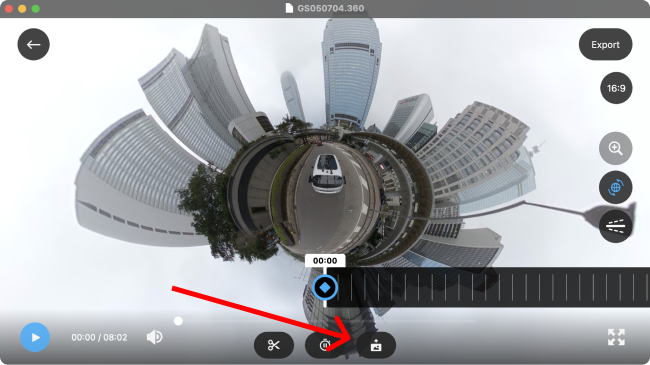
- Click the “Grab Photo” button
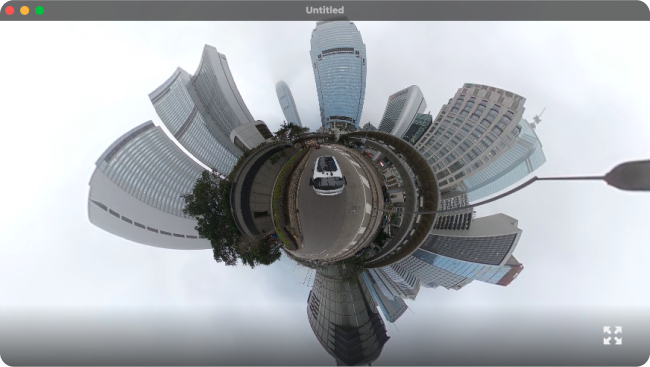
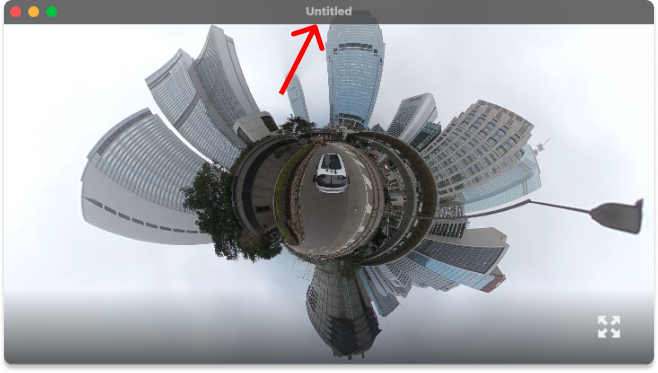
- Notice this now opens “Untitled” in a new window
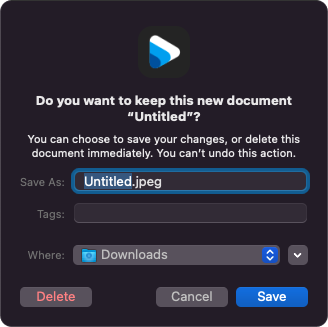
- File → Save → Save as “Export.jpg”
The long, wrong, but seemingly obvious way to do it on GoPro Player, Mac
I have moaned before about the workflow for editing 3D with GoPro software on desktop and I enjoy moaning about bad software.
It’s good to look at why something is confusing, even if for checking your own sanity. Come with me down the the rabbit-hole of confusion…
- Open File
And position the frame how you want it
- Drag a Screenshot capture around GoPro Player
This does give you a clean image as the editing controls hide when you mouse over with the screenshot framing tool.
Still not a proper hi-res export…
- Ok, lets try the “Grab photo” button
- But wait, thats just opened another window and the view has reset! (which isn’t obvious it’s another window if you are in fullscreen)
- Ok, so I’ll position it again… and try the reframe button?
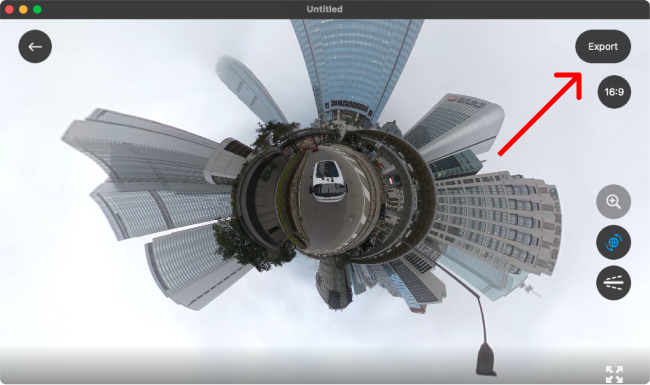
- Aha! Export, there we go…
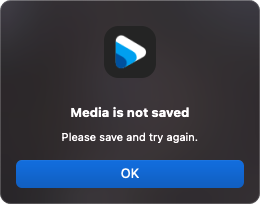
- Error.
(Cue waste of 30 minutes looking fruitlessly for solution on Google and starting to wonder if this is really fun anymore)
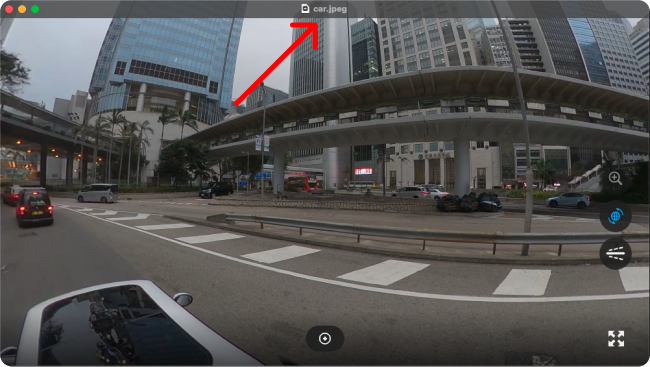
- Try File → Export = same error
- Try File → Save “car.jpeg”
A new window opens now with car.jpeg in a framing which has reset again.
Check the exported file, and it’s still not got the right perspective.
- This is where it gets funky, go back to step 4 and repeat the steps in car.jpeg’s window
1) Reposition your image
2) Click the Keyframe icon
3) Click Export
A third window opens up with the framing and perspective you just applied, now called Untitled.jpg, but with no controls.
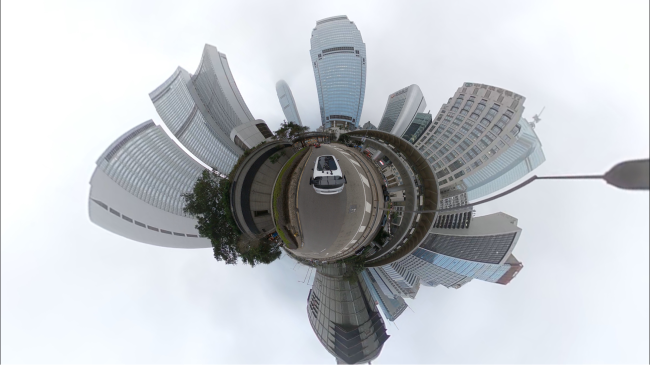
4) File → Save → Save as “Car Again.jpg” and voila, you get the export at last.
But it has black lines down the side…
Go and make a cup of tea and never touch the GoPro again. - Also at step 5 you can try and close the window after repositioning…
This will give you a save option
But again, the exported file loses all framing. This isn’t saving an export of the frame in view, but a flattened 3D image JPG. Not sure the specific format.