I recently decided to retire my Aliyun VPS, mainly due to cost & maintenance headache. I discussed part of the reason for this here. For the scale of sites that I was running it didn’t make sense to be spending hours managing a VPS and Plesk updates / configuration bugs and paying 260USD + a year. Unlimited Web hosting works out much cheaper with a minimal difference in performance. I had looked at this exact issue a few years back, the landscape has changed quite a bit with free tiers being capped and a few players in the market disappearing or getting acquired.
The Problem, manual deployment or expensive deployments
Having shut down my VPS with Plesk Obsidian and migrated all of my hobby / prototype / friends and family sites over I discovered that there is no “git pull” plugin installed in their shared instance of Plesk. This feature was an essential part of my CD workflow. Unlimited’s support team said I would have to upgrade to managed VPS with Plesk in order to get this feature. Theres always a catch, and to complete the feeling of stepping back in time 15 years the shared hosting environment also only supported FTP.
The solution: Bitbucket Pipelines
I looked at several CI/CD platforms, Deploybot, Buddy, DeployHQ, some of which I’d used years ago. I found they all require a subscription of at least 15USD and don’t have a free tier thats really of any free use besides evaluation.
I use Atlassian Bitbucket already for hosting but had for some reason overlooked using Pipelines in the past. If you use Bitbucket on a small scale and don’t share or collaborate too much, it is essentially free for live with little to no limitations.
How to set it up
This is assuming you want to deploy to production when a commit is made to your master branch.
- Create FTP credentials for your site in Plesk.
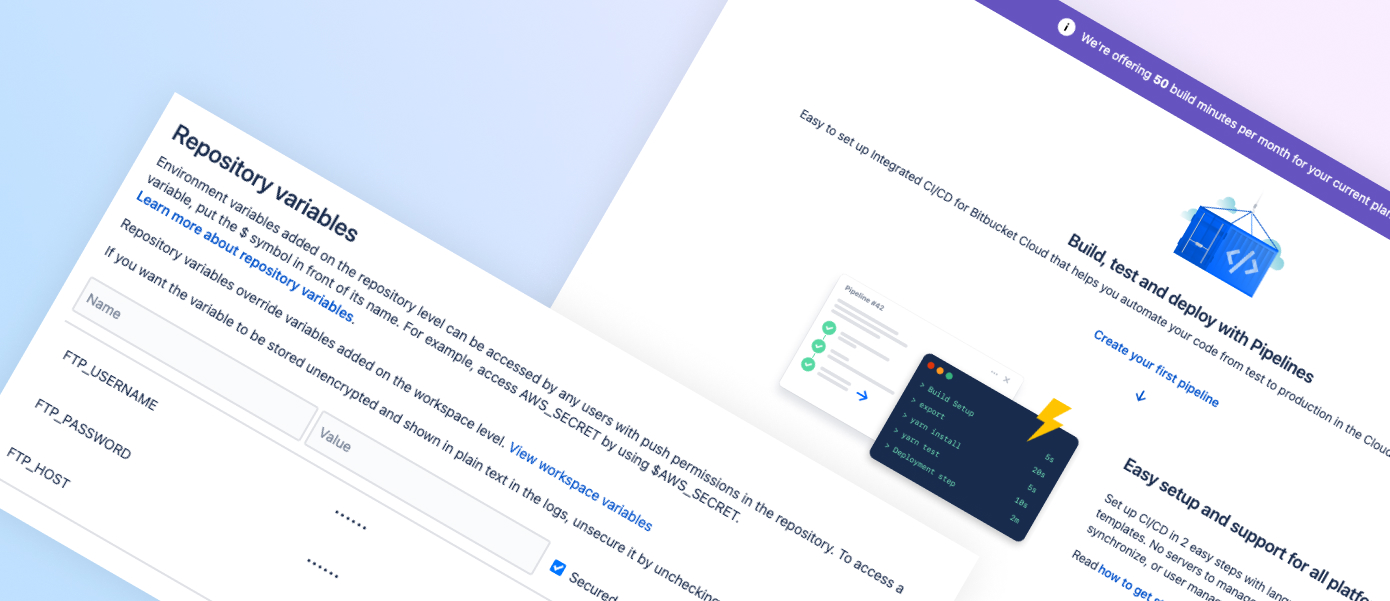
- Go to your Repository Settings > Repository Variables and add the FTP credentials
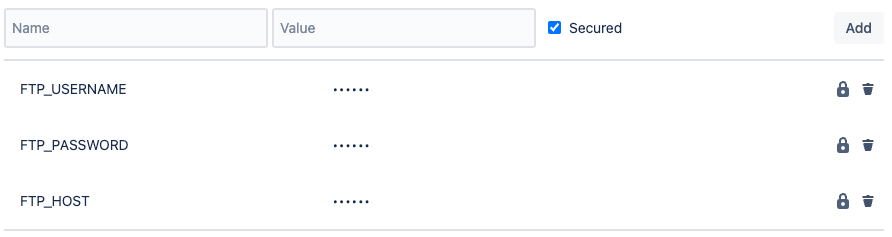
Repository Variables - In Repository Pipelines > Create your first pipeline: Select Starter Pipeline
- Delete the source in the new /bitbucket-pipelines.yml file
- Paste the following YAML
image: atlassian/default-image:2 pipelines: branches: master: - step: name: Deploy to Production deployment: production script: - pipe: atlassian/ftp-deploy:0.4.0 variables: USER: $FTP_USERNAME PASSWORD: $FTP_PASSWORD SERVER: $FTP_HOST REMOTE_PATH: / DELETE_FLAG: 'false' # Don't delete existing files EXTRA_ARGS: "--exclude=.bitbucket/ --exclude=.git/ --exclude=bitbucket-pipelines.yml --exclude=.gitignore" # Ignore these - You can find the latest ftp-deploy version in the Atlassian owned repo here you may want to change the version number.
- Commit the file, as soon as you do the deployment will attempt to run.
- If you need to make modifications return to your repo source and edit the bitbucket-pipelines.yml file. Returning to the Pipelines page will now show you the status of deployments.
- Each time you commit to master a new deployment is triggered.
Limitations
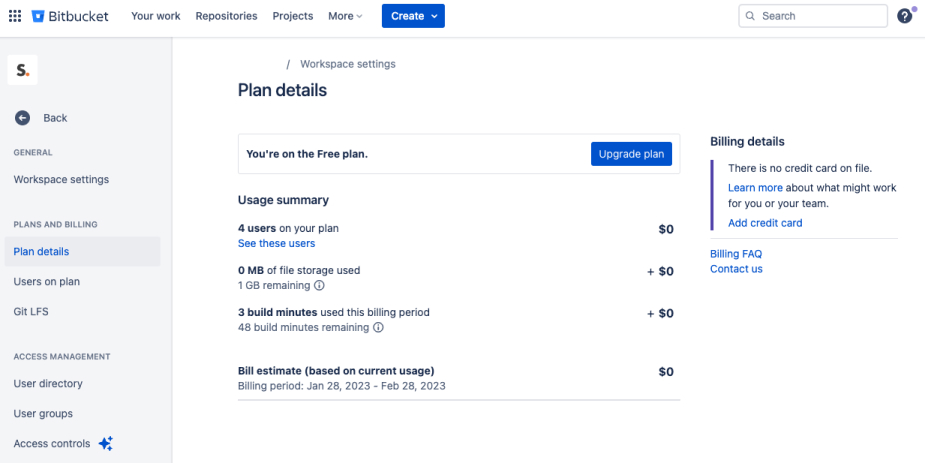
There are only 50 build minutes per month on the Free plan. This is more than enough for my use case with a few file updates every now and again and no usage for weeks even months.
This does give you less configuration options over what happens during the deployment, but for a simple, free way of getting your code into your shared hosting prod environment without having to crack open Filezilla or Plesk admin, it’s a good solution.
Checking Usage
Go to Workspace Settings > Plan Details